
Aluminum honeycomb panel installation should be planned from drawings, not improvised on site. The panels are lightweight and flat, but the final result still depends on subframe accuracy, bracket position, joint control and protection during installation.
Before Installation
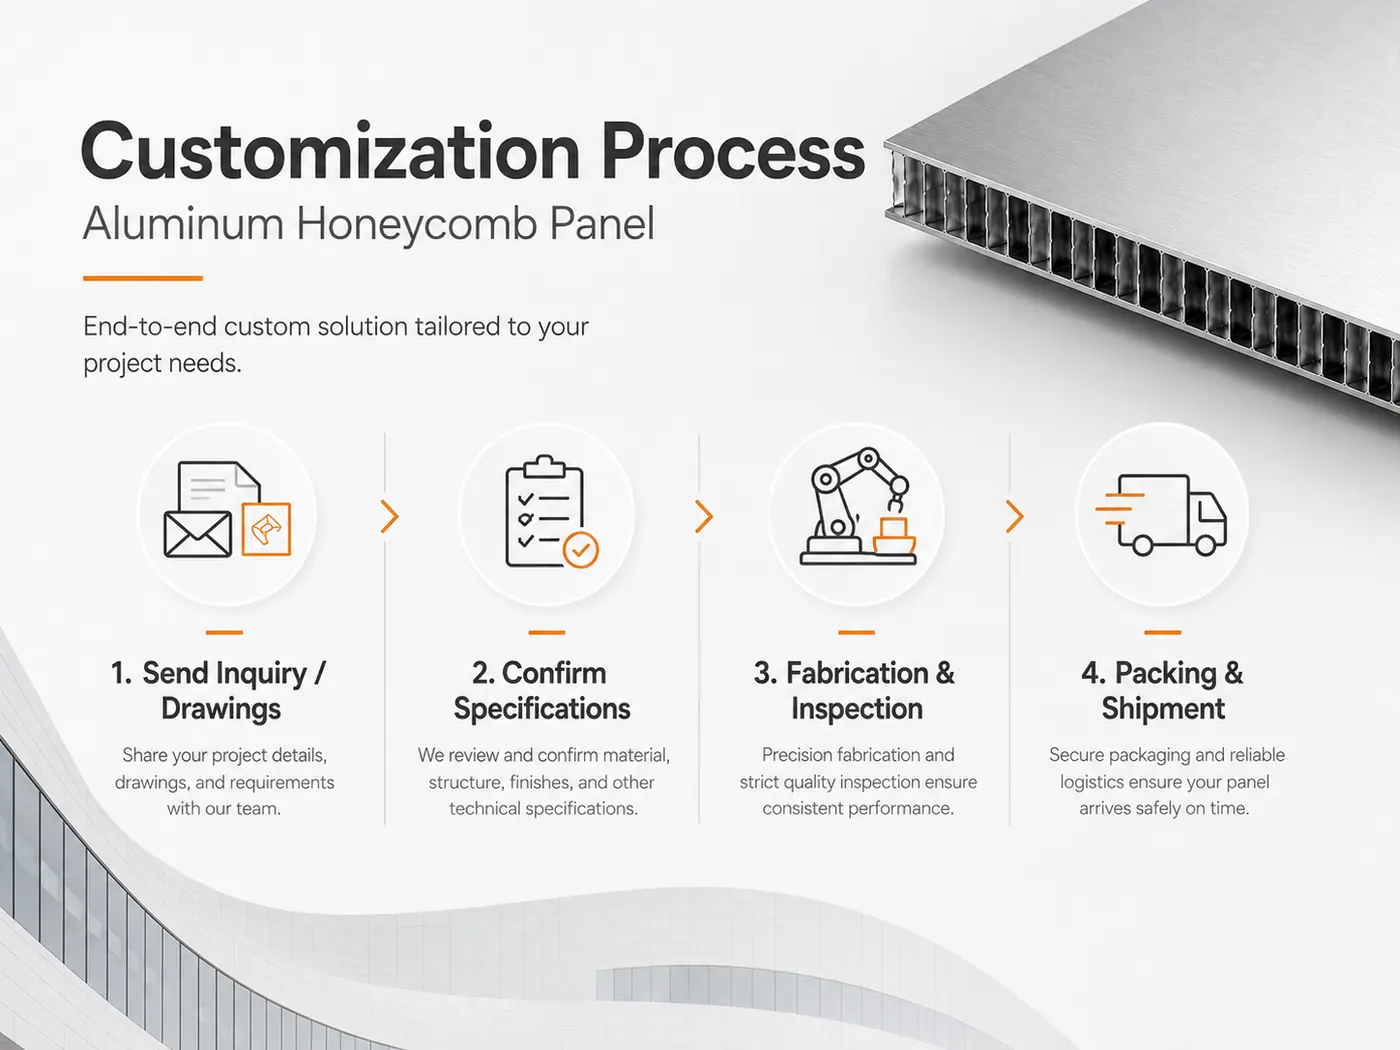
Installation Details Buyers Should Confirm Early
For curtain wall or large wall applications, installation mistakes usually come from unclear drawings, missing accessories or wrong edge processing. Confirm these details before production starts.
| Buyer checkpoint | What to confirm before quotation |
|---|---|
| Shop drawings | Send elevation drawings, panel layout and fixing detail if available. |
| Bracket/accessory list | Confirm what is supplied with the panels and what is sourced locally. |
| Tolerance | Discuss wall flatness, joint width and site adjustment space. |
| Packing sequence | For larger jobs, ask whether panels can be marked by elevation or floor area. |
Useful next pages: Aluminum Honeycomb Panel Curtain Wall Bracket Contact
Check shop drawings, panel numbering, bracket layout, joint width, finish direction and packing list. If panels are supplied by elevation or zone, keep the packaging labels until installation is complete.
Subframe and Brackets
The supporting frame must be straight and aligned. Small errors in the subframe can become visible as uneven joints. Brackets should match the panel fixing method and project drawings.
Panel Mounting
Lift and position panels carefully to avoid edge damage. For large panels, use enough workers or lifting tools. Do not force a panel into position if the subframe is out of tolerance.
Joint Sealing and Inspection
- Confirm joint width and alignment.
- Use suitable sealant where required.
- Check surface scratches before removing protection film.
- Keep spare panels or finish samples for future maintenance.
What to Send for a Quotation
For project-based supply, the most useful inquiry information is product type, size or drawing, finish requirement, quantity, destination port and any reference photos. This helps us check the suitable material structure before quoting.
Installation Quality Controls the Final Look
Even a high-quality honeycomb panel can look poor if the frame is not straight. Before panels arrive, the contractor should verify the subframe, fixing points, datum lines and joint layout. This avoids forcing panels during installation.
Site Checklist
| Frame alignment | Check vertical and horizontal tolerance |
| Panel labels | Install according to elevation or zone numbering |
| Protection | Avoid scratching finished surfaces before handover |
| Sealant | Use suitable joint sealant where required by design |
Handling and Storage
Store panels on a flat surface, keep them dry and protect corners. Large panels should be moved by enough workers or suitable lifting tools. Do not remove protective film too early unless inspection requires it.
FAQ
Can aluminum honeycomb panels be cut on site?
Minor adjustment may be possible, but major cutting should be avoided because edge structure and sealing may be affected.
Who should provide installation drawings?
The supplier and project designer should coordinate shop drawings before production.
Practical Sourcing Takeaway
Installation planning should also consider delivery sequence. If panels arrive mixed without clear labels, site teams waste time searching for the right piece. For export orders, ask the supplier to provide packing photos, carton or crate labels and a panel list before shipment. This is not paperwork for decoration; it directly affects installation speed and reduces the chance of surface damage from repeated handling.
For overseas buyers, installation support can also mean clearer documents. Packing lists, panel numbering drawings and installation notes help local contractors understand the system without waiting for long explanations. This is especially important when the supplier is not physically present at the project site.
This extra context helps project buyers compare specifications with fewer misunderstandings and prepare a clearer inquiry before production starts.
It also gives the purchasing team a clearer basis for comparing samples, documents and supplier communication before confirming the final order.